Plan the visible and hidden states
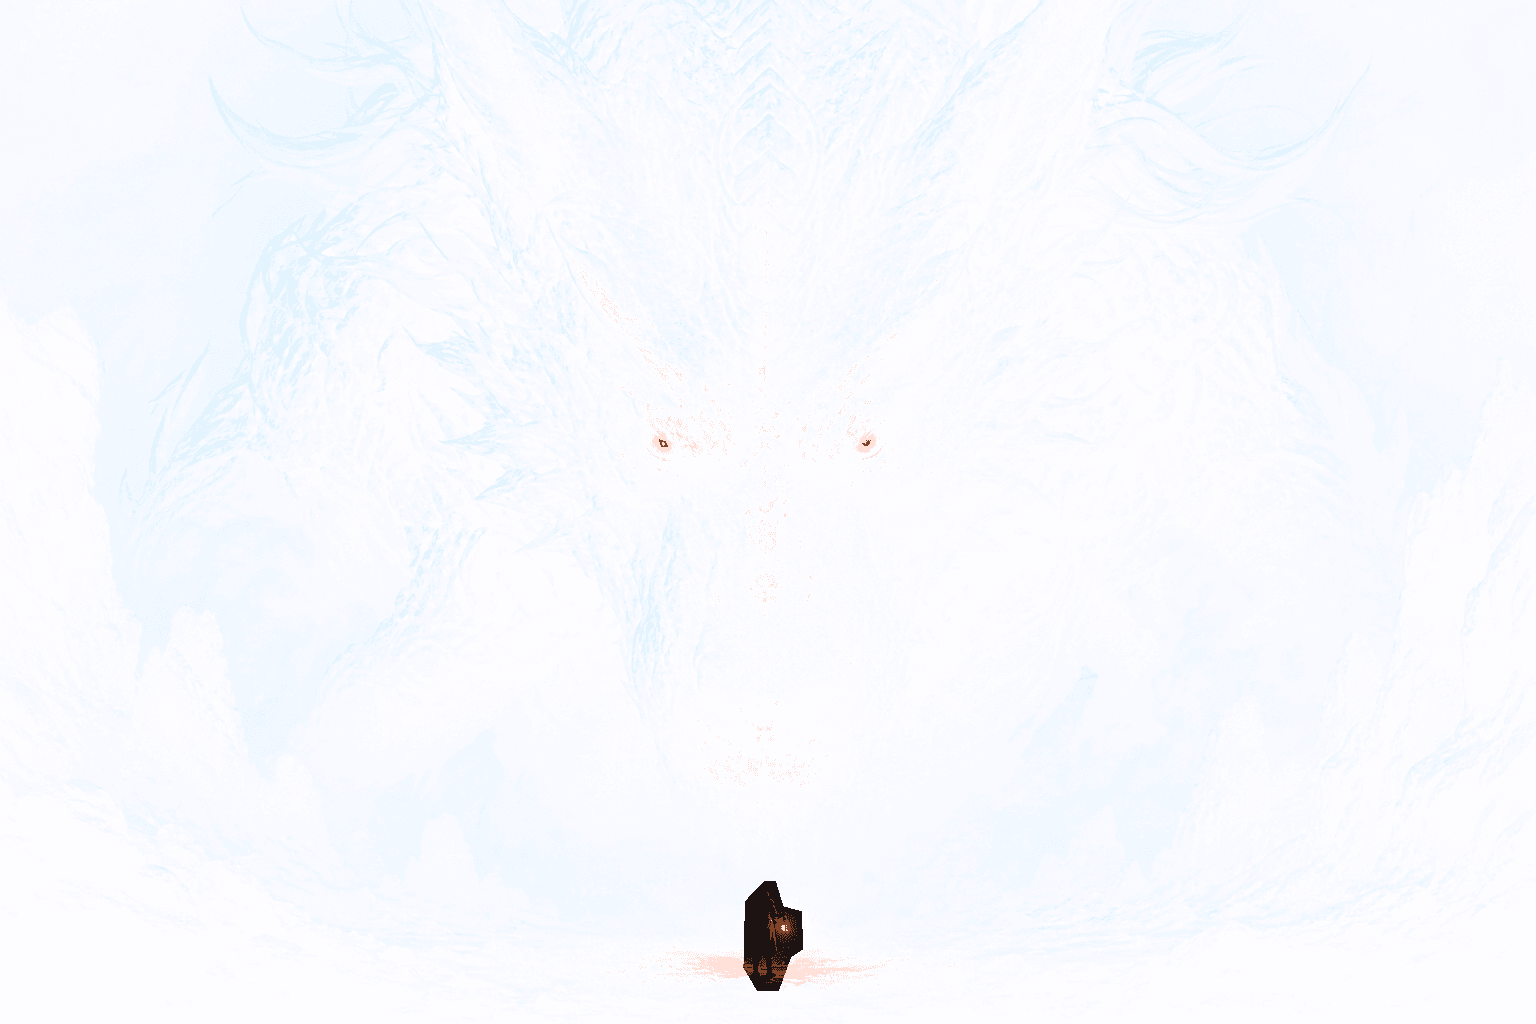
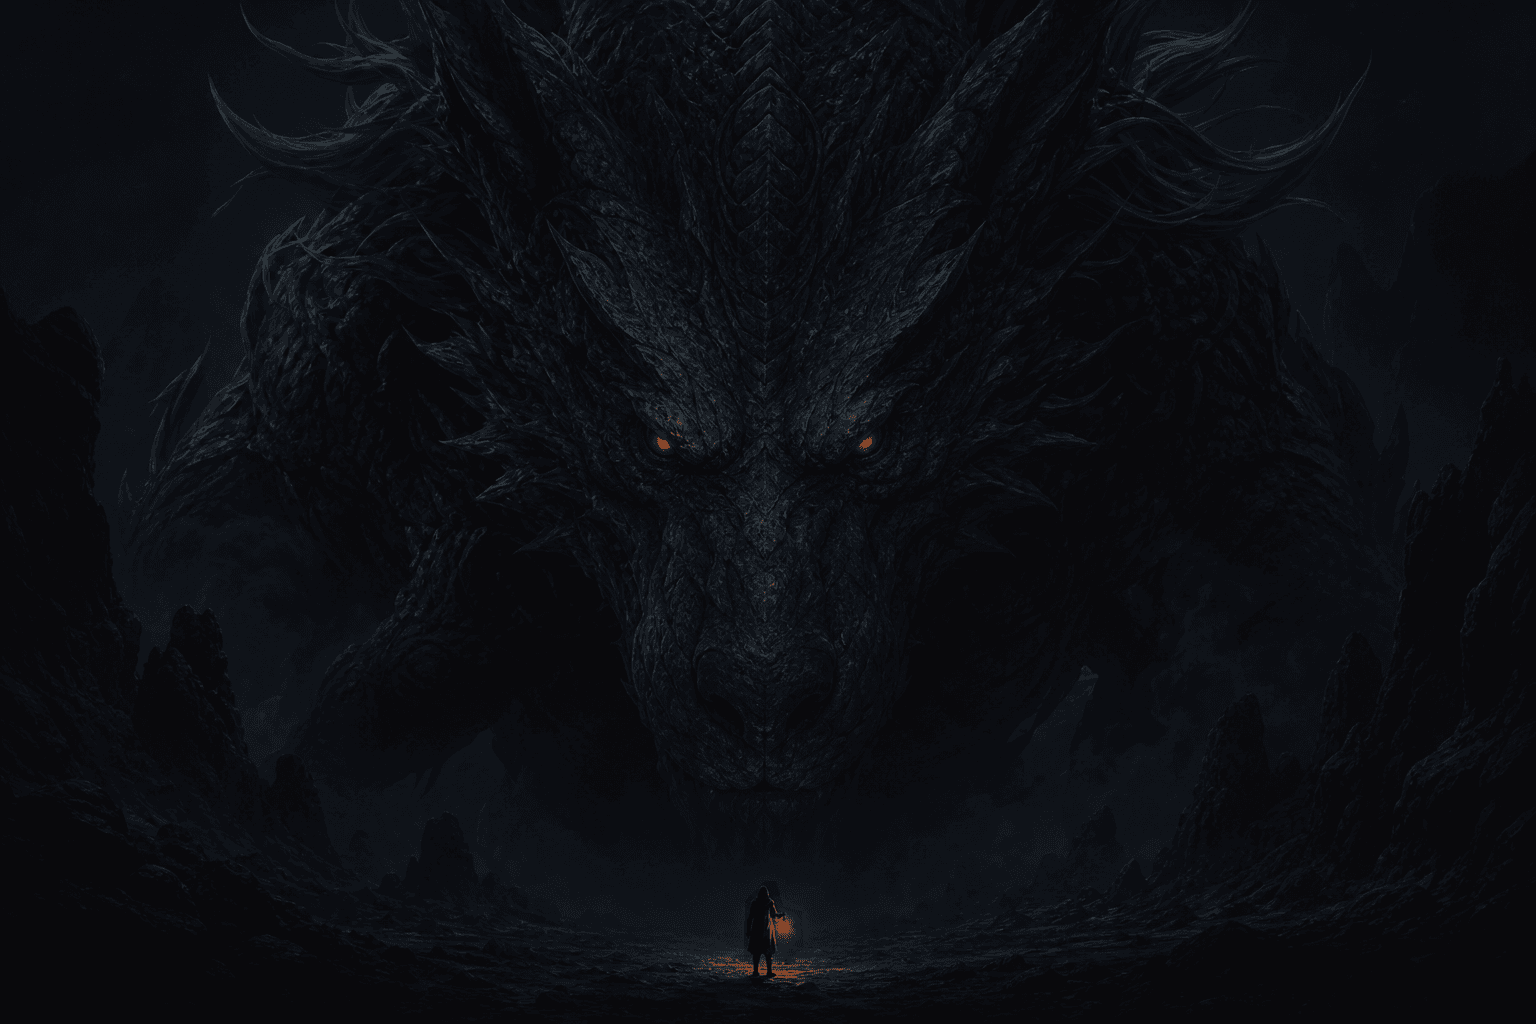
A useful hidden image has a readable first state and a rewarding second state. The visible portion should tell people what kind of post they are looking at, while the hidden portion supplies the surprise. If the first state looks blank or damaged, people may assume the upload failed and continue scrolling before they try the interaction.
Choose the hidden idea before masking. It can be an alternate face, a character behind the subject, a spoiler, a product feature, a code, a punchline, or a before-and-after change. Keep the reveal focused on one payoff. Multiple hidden areas can work, but they should support the same idea and remain understandable at feed size.
Choose how much of the image to hide
Partial hiding is the safest starting point. Leave the main silhouette, context, or setup visible and remove the detail that changes the meaning. Total hiding can work for a strong graphic composition, but it increases the chance that the timeline state feels empty. Use the timeline preview to judge the first state as a viewer, not as the person who already knows the secret.
Reverse selection makes large hidden regions easier. Paint the small area you want to keep, then enable the reverse option so everything else receives the transparency change. This is useful for isolated products, portraits, logos, or a single line of text on a large background.
Refine edges with brush hardness
Brush size controls coverage, while hardness controls the edge transition. Use a hard brush for captions, interface elements, stickers, and clean illustration shapes. Use a softer brush for hair, lighting, smoke, fabric, and painted textures. A soft mask can reduce visible cutout edges, but an overly soft mask may make the reveal too subtle after compression.
Use the eraser to restore areas that were covered by mistake. Zoom through the browser only when refining an edge, then return to a normal view to check the composition. The undo stack keeps the last five mask actions, which is enough for quick corrections without turning the MVP into a full layer editor.
Select a preset for the source material
Standard is the neutral choice for photography, screenshots, and mixed content. Anime Reveal increases contrast and saturation for illustrated faces, line work, and colored effects. Glow Reveal works for bright memes, energy effects, and neon details. Dark Reveal raises contrast while reducing saturation, which can protect moody art and shadow-heavy product photography.
After choosing a preset, adjust Reveal Strength first. If the hidden subject still shows too clearly, raise it. If the visible state feels broken, lower it or erase part of the mask. Use Blur only when detail needs to be softened. Contrast and Saturation should support the source instead of becoming decorative filters.
Preview the hidden image before export
The timeline panel shows the transparent output against a checkerboard. The long-press panel shows the complete processed image. Compare the subject position, negative space, and visual balance between the two. The hidden state should not depend on a crop that could change when X displays the post in a different layout.
Look for accidental transparent islands, rough edges, and tiny details that vanish at feed size. If the reveal is hard to notice, simplify the mask and strengthen the contrast. If the first state reveals too much, add a controlled mask around the key detail instead of covering unrelated areas.
Export without losing alpha
Generate the result and confirm that the editor reports PNG with Alpha. Download reveal-output.png and keep that original file. JPG cannot store the transparency used by this workflow. Some editing, messaging, and scheduling apps also flatten alpha, even when the file name still appears to be an image.
If you transfer the image, send it as a file rather than as a compressed photo when possible. If you make another edit, use software that preserves transparency and export PNG again. A checkerboard background in an image viewer is a useful sign that the transparent region still exists.
Publish with a clear reason to interact
Tell viewers what action to take in a short caption. For spoiler content, make the warning explicit. For art, describe the second version without revealing it. For a product post, connect the interaction to the feature or launch story. The caption should create informed curiosity, not trick people into opening unrelated content.
Test the image before an important post because X may resize, compress, crop, or render transparency differently across devices. If the result is weak, return to the editor, increase the difference between states, and export a new master PNG. RevealStudio handles the controllable image preparation, while platform behavior remains a final external variable.