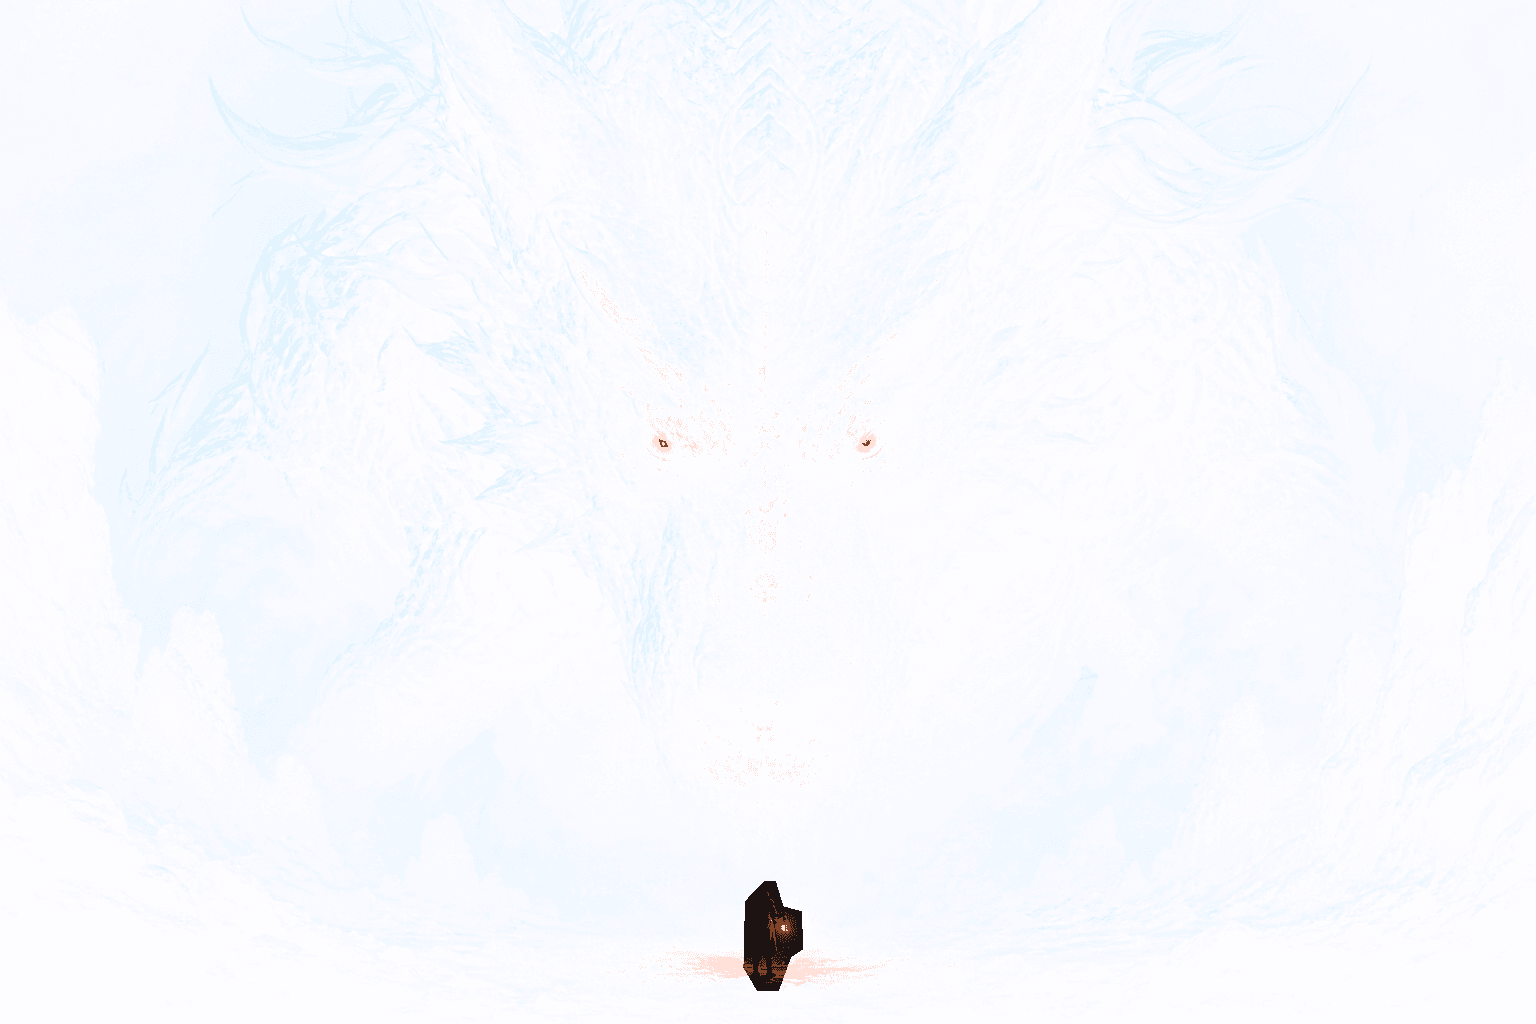
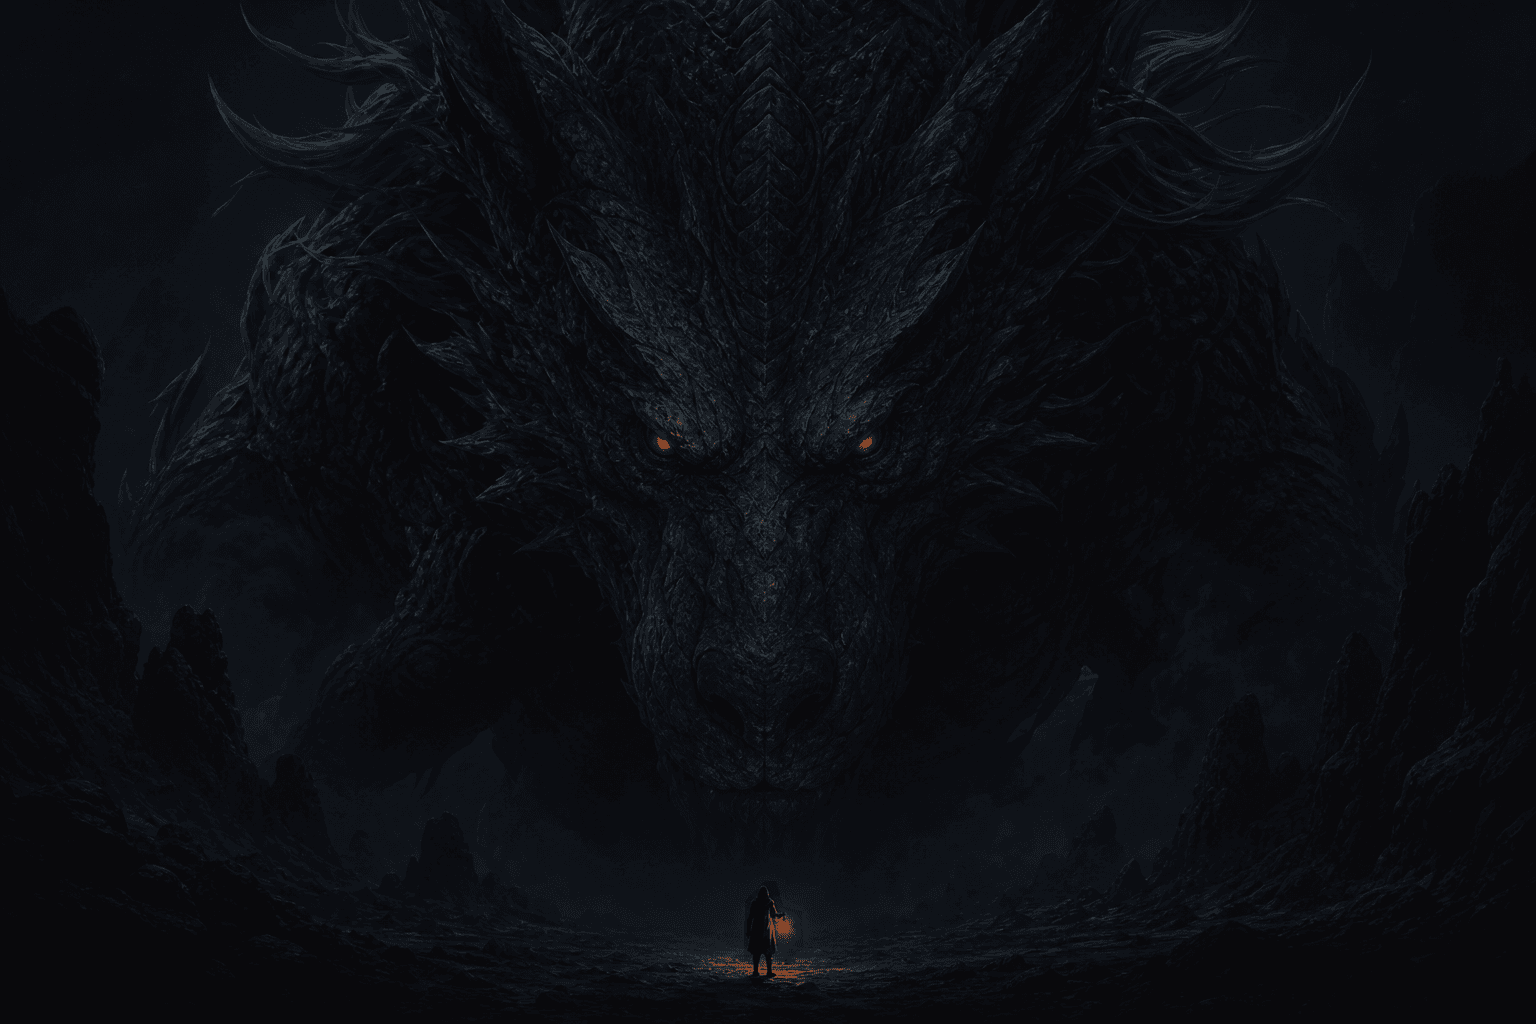
What this reveal image generator creates
RevealStudio produces a transparent PNG from an ordinary JPG, PNG, or WebP source. You paint a mask over the region that should become less visible, then choose how strongly that mask changes the alpha channel. The unmasked area remains visible, while the masked area becomes partially or fully transparent in the exported file.
This is different from a slideshow, animated GIF, or video transition. The output is one PNG that uses transparency and the viewing context to create a reveal. It is useful for X tap-and-hold experiments, hidden illustrations, spoiler images, product teasers, and any post where a second visual state should reward interaction.
Build a reveal around one clear idea
Decide what the viewer should discover before opening the editor. A reveal works best when it answers one simple question: What changed, what was hidden, or what is the payoff? Good examples include an alternate character expression, a product before and after, a meme punchline, a discount code, a second person in the scene, or a final design detail.
Avoid combining several unrelated surprises in one image. A crowded mask is harder to refine and harder to understand in a small feed preview. If the source image needs a long explanation, split the idea into a thread or create separate reveal images. The generator should support the concept, not force the viewer to decode it.
Create a clean mask
Upload the source image and paint over the area that should be hidden in the first state. Use a large brush for broad shapes, then reduce the size near edges. Increase hardness for typography, logos, interface screenshots, and geometric product details. Lower hardness for hair, light effects, clouds, painted backgrounds, and other soft boundaries.
Switch to the eraser when the mask covers an important edge. Use undo for recent strokes and reset only when you want to remove the complete mask. If the intended visible area is much smaller than the hidden area, paint the visible subject and turn on reverse selection. This often produces a cleaner result with fewer strokes.
Tune transparency and image treatment
Reveal Strength determines how much alpha is removed from the hidden region. A value near full strength creates the clearest difference, while a lower value keeps a faint trace of the hidden subject. Blur can reduce distracting detail, Contrast can make the two states easier to distinguish, and Saturation can protect or mute color after platform compression.
Start with Standard and change one parameter at a time. Anime Reveal is useful for line art and colorful illustration. Glow Reveal favors bright effects and high-energy posts. Dark Reveal is safer for moody images where a bright filter would damage the source. The live previews update from the same parameter state used for generation.
Read the two previews correctly
The timeline preview represents the exported transparent state against a checkerboard so you can see which pixels remain. The reveal preview represents the complete processed image. These panels are a planning tool, not a guarantee that X will show the exact same colors, crop, or background on every device.
Check the composition at a small size. The timeline state needs one recognizable anchor, and the revealed state needs a visible payoff. If both panels look almost identical, increase reveal strength or mask a larger region. If the timeline preview looks empty, restore part of the subject or reduce the strength so the interaction starts from a coherent image.
Download a usable transparent PNG
Select Generate Result to create the PNG and inspect its dimensions and approximate size. The editor keeps alpha values within the valid range and preserves the source aspect ratio at the working resolution. Downloading saves reveal-output.png directly from the browser without sending the image to a processing server.
Keep the downloaded PNG as the master file. Messaging apps, image optimizers, and some social scheduling tools can flatten transparency or convert PNG to JPG. If you need to move the file between devices, use a method that preserves the original file. Open it over a checkerboard or colored background if you need to confirm that alpha still exists.
Publishing and troubleshooting
Pair the image with one direct interaction prompt. A short instruction is more useful than a paragraph explaining the technical mechanism. For product posts, connect the reveal to one launch action. For art or memes, let the hidden detail be the reward. Always test a post before relying on the effect for an important announcement.
When a result fails, verify the file extension, alpha channel, mask coverage, and contrast in that order. Re-export directly from RevealStudio if another tool touched the file. Try Standard with strong reveal strength before adding filters. X controls the final preview pipeline, so no browser generator can promise identical rendering after every platform update.