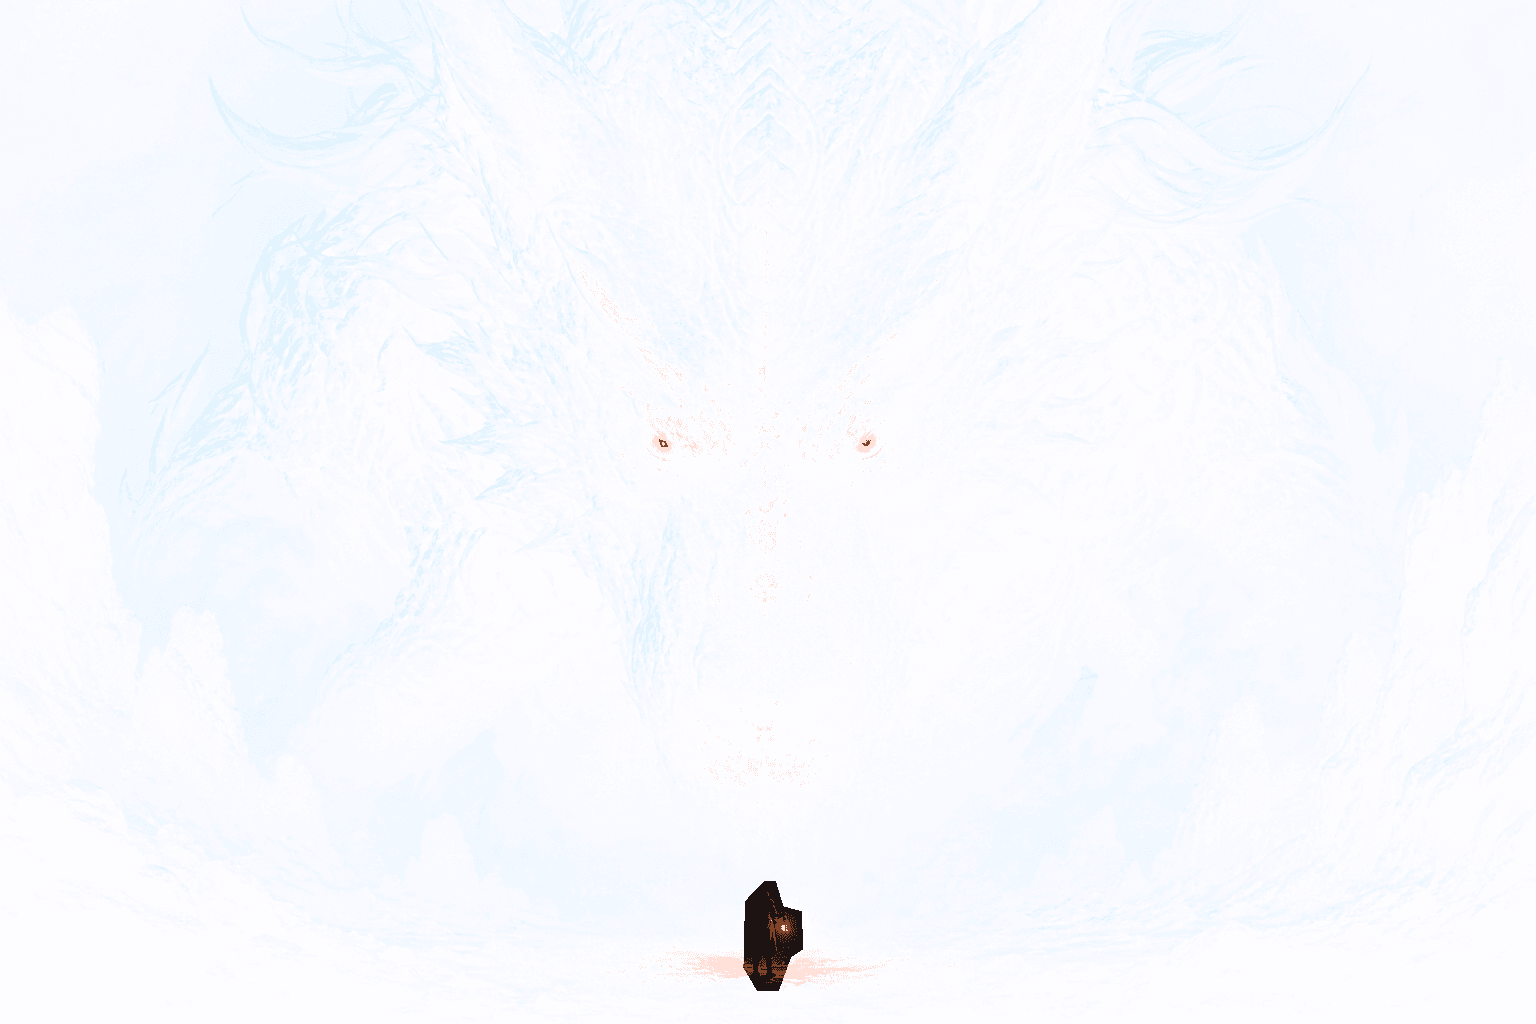
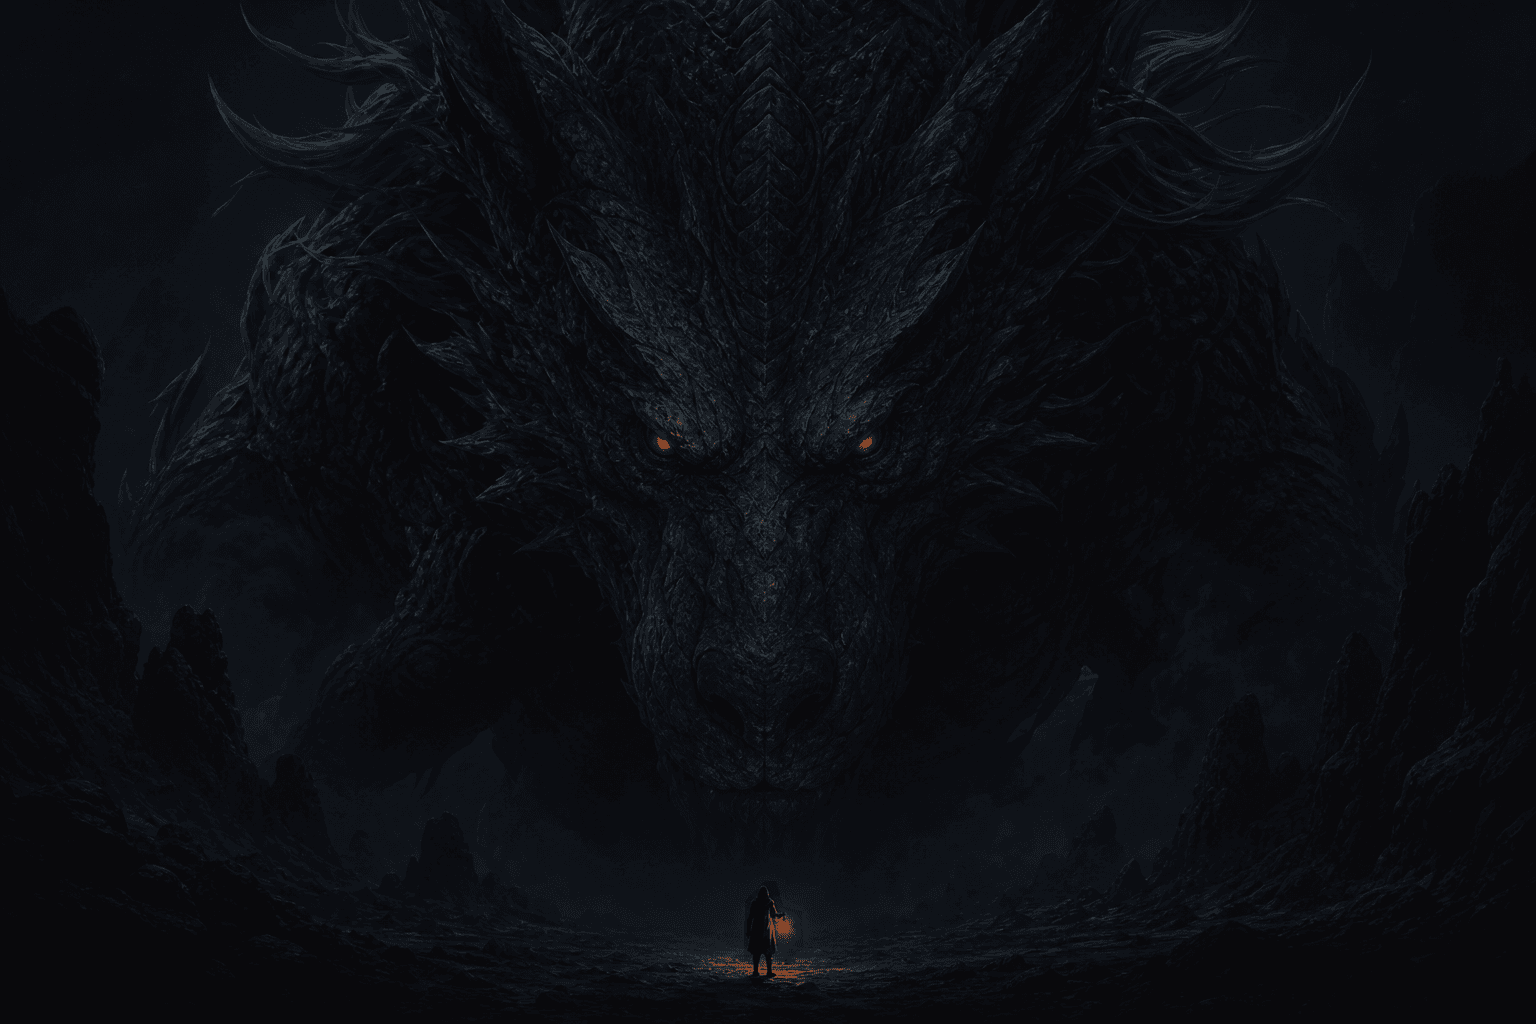
What a tap and hold image maker does
A tap and hold image maker helps you prepare a picture with two useful viewing states. The first state is the version people encounter while scrolling through a feed. The second state is the fuller image they discover after pressing, expanding, or opening it. RevealStudio creates the transparent PNG that makes this kind of experiment possible without requiring a desktop design application.
The editor keeps the image inside your browser. You upload a source file, paint the region that should become transparent, adjust the reveal strength, and compare a timeline preview with the complete version. The exported file preserves alpha transparency. That matters because JPG removes alpha and turns carefully hidden regions into a flat background.
Choose a source image that survives compression
Start with an image that still makes sense at a small size. A clear face, silhouette, product shape, short line of text, or strong color block usually works better than a scene filled with tiny details. Social platforms resize and recompress uploads, so the reveal should not depend on a one-pixel edge or a faint tonal shift that disappears in the feed.
Keep the main subject away from the extreme edges because timeline crops can vary by device and post layout. If you plan to hide a caption or alternate expression, make the surrounding visible image complete enough to stop the scroll. The first state should create curiosity, not look like a broken upload.
Paint the hidden region with control
Use the brush to mark only the area that should fade from the exported PNG. Increase brush size for broad backgrounds and lower it around faces, lettering, or product edges. Hardness controls how quickly the mask reaches full strength. A hard edge is useful for graphic shapes, while a softer edge can make an illustration or glow transition feel less abrupt.
The eraser removes accidental mask strokes, and undo keeps the last five masking actions available. Reverse selection is useful when most of the canvas should be hidden and only one small region should remain visible. Instead of painting the whole background, paint the subject and turn on reverse selection.
Use templates as safe starting points
Standard keeps the source close to its original appearance and is the best first test. Anime Reveal increases contrast and saturation so line art, eyes, hair, and colored effects remain readable after feed compression. Glow Reveal pushes bright details and color separation for memes, effects, and dramatic reveals. Dark Reveal keeps the composition restrained when the hidden area sits in shadows.
Templates are starting points, not fixed filters. Reveal Strength controls how transparent the masked area becomes. Blur softens the processed image, Contrast separates light and dark regions, and Saturation changes color intensity. Adjust one control at a time while watching both previews so you can tell which change improved the result.
Compare the timeline and reveal previews
The X timeline preview shows the transparent version you are preparing for the first viewing state. The long-press or expanded preview shows the complete processed image. The simulation cannot reproduce every platform decision, but it helps catch obvious problems before export, such as hiding the entire subject, leaving an accidental mask gap, or making the visible state too empty.
Look at the preview at a normal feed size instead of zooming into every pixel. Ask whether a viewer can understand the first image and whether the second state provides a clear reward. If the difference is invisible, increase strength or contrast. If the first state feels broken, erase part of the mask and leave a stronger visual anchor.
Export, test, and publish on X
Generate the result only after the mask and previews look intentional. RevealStudio reports the output dimensions, PNG format, approximate file size, and alpha status before download. The file is named reveal-output.png so it is easy to find. Do not pass it through an app that converts images to JPG before posting, because that removes the transparency you created.
Use a short caption that tells people what to do, such as “tap and hold to reveal” or “long press for the second version.” Test the image with a low-risk post before using it in a launch or sponsored campaign. X may change compression, crop, background color, or preview behavior, and results can differ between mobile and desktop.
Privacy and common failure checks
RevealStudio processes the source image, mask, previews, and PNG export locally with Canvas. The MVP does not upload the original image to a server by default. This makes it suitable for unreleased illustrations, product teasers, and drafts that should remain private while you experiment.
If the reveal does not work after posting, confirm that the final file is still PNG, check that the alpha channel was not removed by another app, and use a stronger difference between visible and hidden regions. Rebuild with Standard first, then add contrast or a template. Platform rendering is outside the editor, so testing remains part of a reliable publishing workflow.